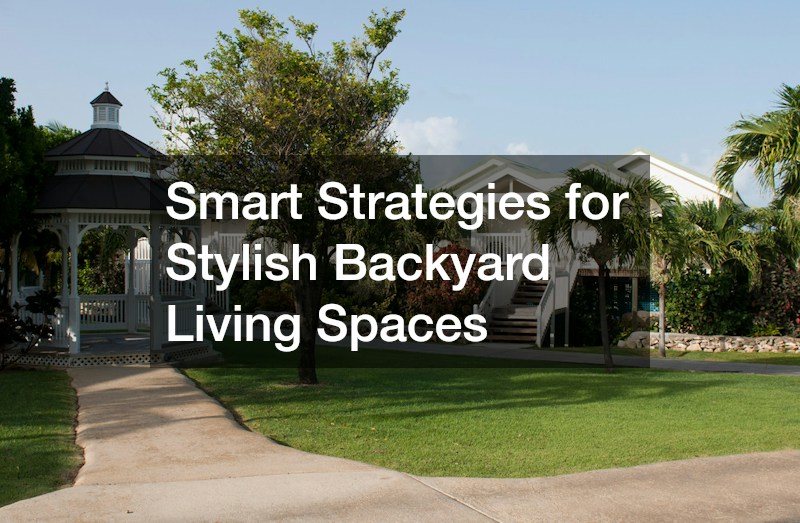
For decades, typical backyards consisted of a small concrete slab, a freestanding grill, and grass that demanded weekly mowing while offering little comfort. Today, homeowners treat exterior square footage as an architectural extension of the home—complete with dedicated dining zones, weather-adaptive shelter, layered illumination, and low-maintenance plantings.
Achieving a cohesive retreat rarely comes down to buying expensive lounge chairs or an oversized fire table. Lasting style relies on spatial planning, sequencing, and technical decisions made beneath the surface before cushions are unpacked. When foundations, utilities, shelter, and greenery work together, a yard feels effortless from spring through autumn.
Map Distinct Activity Zones and Clear 36-Inch Walkways
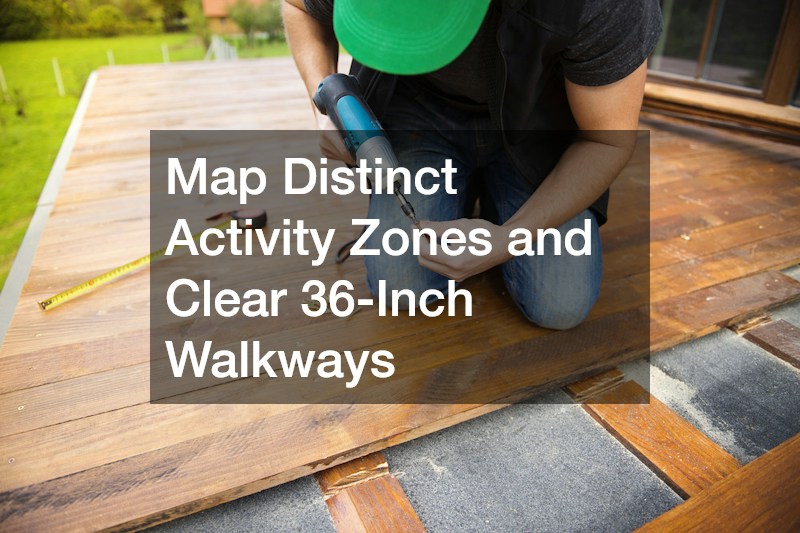
A stylish backyard functions like an open-concept indoor floor plan. Without clear boundaries, furniture floats awkwardly across the yard, creating dead corners and bottlenecks. Before selecting finishes, divide your footprint into distinct outdoor rooms tailored to how your household lives—such as an open-air dining zone, a hearthside conversation pit, and a quiet morning coffee nook.
Proper circulation separates a frustrating layout from one that flows naturally during gatherings. When guests sidestep pulled-out chairs or squeeze past a hot grill to reach the back door, the space immediately feels smaller.
- Establish generous traffic lanes: Maintain 36 to 48 inches of clearance along walkways connecting indoor doors, cooking stations, and seating areas.
- Size zones around real furniture footprints: Allow a 10-by-12-foot footprint for a six-person dining set so guests can push chairs back without catching legs on steps or planting beds.
- Define rooms visually without bulky walls: Use contrasting stone borders, surface shifts, outdoor rugs, or 18-inch seat walls to separate dining and lounging zones while keeping sightlines open.
- Position cooking areas downwind: Place grills away from seating and prevailing breezes so smoke drifts away from guests and rooflines.
Select Elevation Changes and Surface Materials Suited to Your Terrain
Once zones are mapped, match the base to your property’s topography and soil conditions. Flat lots accommodate ground-level stone easily, while sloped yards benefit from multi-level platforms that turn grade drops into architectural features.
When your lot drops away from the back threshold, consulting experienced deck builders early resolves ledger flashing, stair geometry, and drainage. Capped composite and mineral-based boards resist fading, staining, and splintering better than pressure-treated pine, while hidden fasteners create a clean surface resembling hardwood. For high walkout elevations, an under-deck drainage membrane turns the space below into a dry lounge.
At ground level, durable patio construction depends on preparation beneath the stone. A stable surface requires excavating topsoil, compacting 6 to 8 inches of crushed aggregate, and maintaining a 1 to 2 percent slope away from your foundation so rainwater never pools. Weigh style alongside upkeep when choosing materials:
- Porcelain pavers: Non-porous, frost-proof, and immune to grease or wine stains, making them ideal beneath kitchens and dining sets.
- Natural flagstone or bluestone: Delivers organic color variation and texture that blends into garden beds, though stone benefits from periodic sealing.
- Architectural concrete pavers: Offer crisp modern lines, high strength, and easy spot-repairability if underground utilities need access later.
Pair Fixed Architectural Roofs with Adjustable Louvers
Even a furnished yard sits empty if midday heat makes cushions scorching or sudden drizzle sends everyone indoors. Overhead architecture anchors furniture visually, creates a human-scale ceiling, and expands the days each year you can comfortably enjoy your yard.
Before choosing a shelter, track how sunlight moves across your yard between noon and sunset. South- and west-facing exposures absorb intense radiation that pushes surface temperatures 15 to 20 degrees higher than shaded zones.
Selecting the right patio coverings depends on balancing weather protection against natural light inside adjacent rooms. Solid gable or shed roofs tied into your roofline provide complete rain protection, support ceiling fans and lighting, and shield appliances, though a solid roof on a south-facing wall can darken indoor rooms during winter.
Motorized louvered pergolas solve that dilemma with real-time control over sunlight and airflow. Aluminum louvers rotate up to 135 degrees to let winter sun through, angle partially to block summer rays while venting heat, or interlock to channel rain into concealed gutters:
- Match existing architectural details: Echo your home’s roof pitch, fascia trim, and column proportions so additions look original rather than tacked on.
- Plan ceiling height carefully: Keep beam clearances between 9 and 11 feet so the space feels airy without losing the sheltered feel of an outdoor room.
- Account for winter snow and wind loads: Verify structural engineering ratings early so overhead framing handles regional weather safely.
Block Low-Angle Sun and Cross-Breezes Without Losing Openness
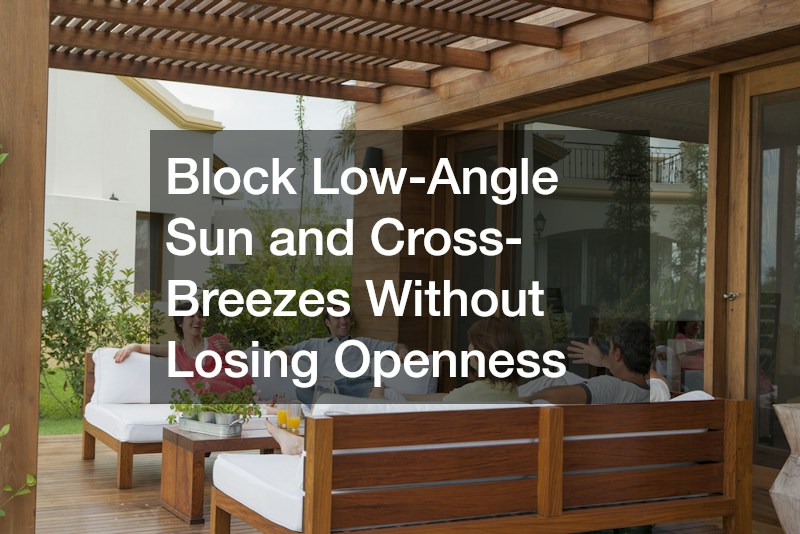
An overhead roof handles midday sun, yet by late afternoon the sun drops low on the horizon, sending horizontal glare beneath rafters. Gusty winds and second-story sightlines from neighboring homes can also disrupt quiet evenings.
Integrating motorized patio shades along the perimeter of a pergola or porch provides instant protection without closing off your view. Recessed tracks built into columns hold tensioned solar-screen fabric taut in breezes, retracting smoothly into an overhead housing when unused.
- Choose dark-weave fabrics over white: Charcoal and bronze meshes absorb glare and let your eyes look through the screen into the garden, whereas white fabrics reflect sunlight and create an opaque wall.
- Match openness factors to exposure: A 5 percent openness weave blocks 95 percent of UV rays and cuts heat gain on west exposures while preserving airflow and visibility.
- Add wind sensors for peace of mind: Automated anemometers retract screens automatically if sudden storm gusts pick up while you are away.
- Pre-wire motor housings during framing: Concealing power feeds inside posts keeps controls clean and avoids surface-mounted conduit.
Install Dedicated GFCI Circuits Before Closing Up Walls or Groundwork
Modern outdoor spaces draw far more power than a single legacy outlet can supply. Between infrared heaters, beverage refrigerators, pellet smokers, motorized screens, and audio systems, electrical demand adds up quickly during gatherings.
Scheduling a licensed electrical service before pavers are laid, framing closes, or trenches are backfilled prevents costly demolition later. Running underground PVC conduit beneath hardscapes places power where needed while keeping wires hidden.
- Separate high-draw appliances onto dedicated circuits: Infrared heaters and refrigerators require dedicated 20-amp circuits so breakers do not trip when devices run simultaneously.
- Specify weather-resistant in-use covers: Standard flip-up covers cannot close while a cord is plugged in; extra-duty bubble covers keep connections dry during storms.
- Conceal receptacles thoughtfully: Tuck outlets inside masonry seat walls, island toe-kicks, or pergola posts so cords stay invisible from seating angles.
- Include spare conduit runs: Laying an empty 1-inch PVC sleeve beneath patios costs little during construction and simplifies future upgrades.
Combine Warm 2700K Path, Task, and Focal Illumination
Thoughtful lighting design transforms a yard after sunset, extending gatherings past dusk and turning dark window reflections into glowing garden views. Once power is stubbed out, shift from raw brightness to layered atmosphere. Mounting bright white floodlights under eaves casts harsh shadows, flattens depth, and ruins night vision.
Experienced lighting contractors design low-voltage LED systems around three layers balancing safety, utility, and visual drama:
- Task lighting: Focused downlights in pergola beams or grill hoods illuminate cooking grates and dining tables so you can check food and read comfortably.
- Safety and circulation lighting: Low-profile path lights along walkways, step-tread lights recessed into risers, and under-cap fixtures beneath seat-wall ledges guide footsteps safely without glare.
- Focal and architectural lighting: Soft uplights beneath sculptural trees, grazing lights across stone walls, and underwater fixtures in fountains draw the eye outward, making the yard feel larger after dark.
Keep fixtures within a warm 2700K to 3000K color temperature so outdoor light harmonizes with interior lighting visible through windows, and add smart dimmers to shift from dinner prep to late-night conversation.
Frame Views and Screen Neighbors Using Tiered Plant Heights

While stone patios, pergolas, and outdoor kitchens provide structure, excessive hard surface leaves a yard feeling sterile and hot. Layered plantings soften straight edges, absorb neighborhood noise, cool surrounding air, and anchor your property within its natural setting.
Effective planting works in three dimensions rather than lining up identical shrubs along a fence. Dedicate 30 to 40 percent of your visual field to greenery so stone and wood feel nestled into a garden.
Collaborating with a landscape designer establishes a four-season backbone tailored to your sun exposure, drainage, and sightlines. Mapping views from your kitchen sink, sofa, and outdoor seating lets you frame focal points—like an ornamental maple or fountain—while screening utility meters, air conditioners, or neighboring windows:
- Build vertical depth with three tiers: Combine tall evergreen trees at the perimeter, mid-height flowering shrubs for seasonal color, and low groundcovers or grasses along borders to soften stone edges.
- Design for winter structure: Incorporate evergreens, colorful bark, and ornamental grasses whose seed heads catch winter sunlight so the yard stays engaging after leaves drop.
- Place fragrance near seating and walkways: Tuck lavender, rosemary, or star jasmine along patio perimeters and paths where breezes or brushing past releases natural scent.
Source Hardy Native Perennials and Statement Planters for Instant Polish
Even in compact yards with extensive paving, oversized containers bring greenery directly onto decks and patios while defining corners. Grouping three planters of varying heights—such as 30-inch, 22-inch, and 16-inch vessels—creates stronger impact than scattering small pots individually.
Skip big-box garden centers stocked with generic inventory and visit local plant nurseries to source regionally adapted perennials proven to thrive in your soil pH, hardiness zone, and humidity. Knowledgeable staff can recommend pest-resistant native varieties that support pollinators while requiring less water and fertilizer once established.
- Follow the thriller, filler, spiller container rule: Anchor each planter with a tall upright focal plant, surround its base with mounding foliage or blooms, and edge the rim with trailing vines that soften the pot’s silhouette.
- Choose frost-resistant container materials: Heavy-walled fiberglass, cast stone, and glazed stoneware withstand freeze-thaw cycles better than thin terracotta pots that crack over winter.
- Automate container watering: Run quarter-inch drip-irrigation tubing through planter drainage holes on a smart timer so summer heat never wilts focal arrangements.
Prune Overhanging Limbs and Assess Root Health Before Building
Mature trees are the hardest asset to replace in any landscape, providing summer shade, architectural scale, and property value that take decades to regrow. Protecting them starts before excavation equipment or heavy materials enter your yard.
Scheduling a certified tree service before construction allows an arborist to evaluate stability, remove dead limbs overhanging seating zones, and crown-thin dense canopies so dappled sunlight reaches understory plantings. Equally important is establishing root-protection zones around established trees:
- Prevent soil compaction: Heavy machinery driven over roots crushes oxygen pockets in the soil, causing canopy decline years after a remodel finishes.
- Bridge critical root zones carefully: When walkways or patios pass beneath mature trees, use permeable pavers on an open-graded base or elevated pier footings instead of concrete trenching that severs feeder roots.
- Mulch properly around trunks: Maintain a 2- to 3-inch layer of shredded mulch over root zones while keeping mulch pulled back from the trunk flare to prevent rot.
Lock In Seasonal Turf Care and Hardscape Maintenance Schedules

The final piece of a stylish backyard is long-term stewardship. A space that looks pristine on installation day loses its polish if weekly upkeep steals your weekends. Clean, intentional maintenance makes simple layouts look tailored—starting with defining boundaries between lawn panels and planting beds using steel edging or cobble mowing strips so grass stays out of beds and mowing lines stay crisp.
Partnering with a reliable lawn maintenance contractor ensures turf stays thick, weed-free, and cut at the proper seasonal height—typically 3 to 3.5 inches during summer to shade out weed seeds and encourage deep roots—while freeing your weekends. Alongside turf care, follow a seasonal checklist to protect hardscapes:
- Spring refresh: Wash composite boards and pavers with a pH-neutral cleaner, inspect polymeric sand joints for erosion, and flush drip-irrigation lines.
- Mid-season inspection: Check fixture lenses for mineral buildup or encroaching foliage, and tighten hardware on pergola louvers, gates, and furniture.
- Autumn winterization: Clear fallen leaves from paver joints and gutters before wet weather stains surfaces, drain water lines before freezing, and store cushions in breathable boxes.
Great outdoor living spaces rarely happen overnight, and you need not tackle every upgrade in one season for a cohesive result. Start by walking your yard at three times of day—morning, peak afternoon sun, and dusk—with a notebook to track sun angles, wind patterns, privacy gaps, and traffic flow.
When you sequence your project thoughtfully—locking in layout, foundations, and utilities first, then layering shelter, warm lighting, and regional plantings—every dollar supports a unified vision. The result is an outdoor retreat tailored to your home, effortless to maintain, and ready to welcome you outside every day.